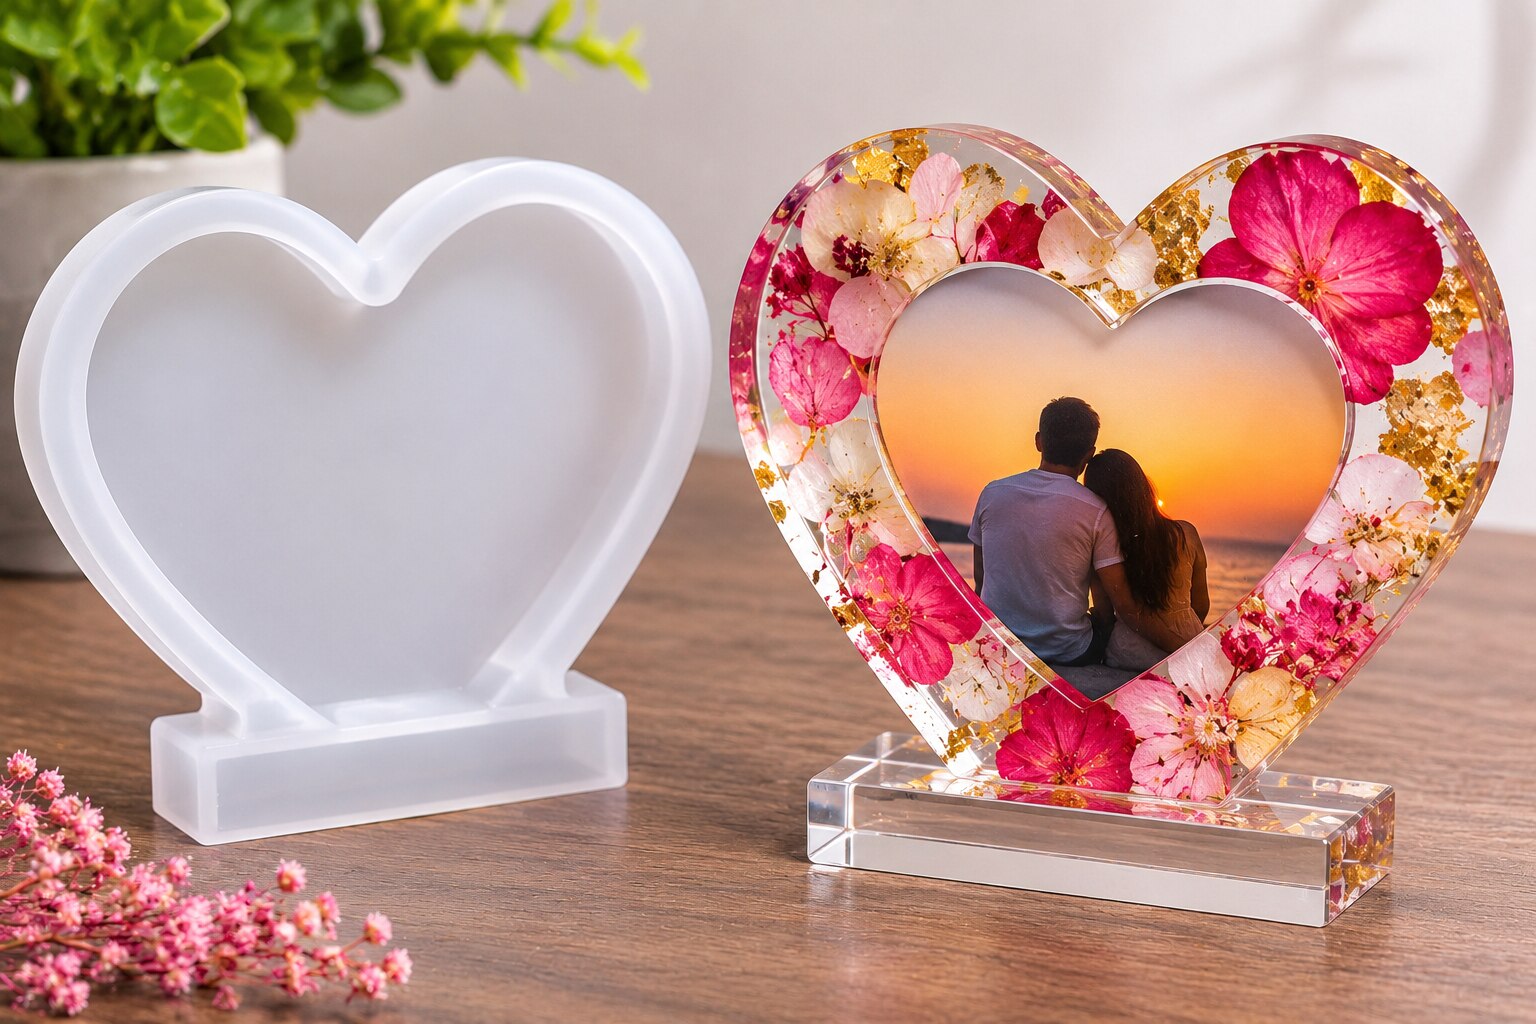
A heart-shaped mould can produce a decorative casting without producing a complete, usable photo frame. Before buying, confirm the cavity measurements, resin compatibility, support requirements and the parts you will need to hold and display the photograph. By the end, you will know how to assess the mould, estimate materials, cast it safely and decide whether local purchase or a ready-made frame makes more sense.
Key takeaways
- Measure the finished frame opening, outer size, depth, and stand space.
- Match the resin to the mould depth and calculate its volume before mixing.
- Pour in thin stages, remove bubbles, and cure fully before demoulding.
- Ask Goregaon stores about mould dimensions, resin compatibility, and replacement parts.
Check the mould dimensions before you buy
Verify the finished frame’s measurements, not just the mould’s label. Ask for four measurement groups:
- Outside width and height of the cured heart frame.
- Inner photo-opening width and height.
- Cavity depth.
- Wall thickness.
Confirm whether each figure describes the finished casting or the empty silicone cavity. Measure your photograph with its border, laminate, protective coating and mounting margin; a “4 × 6 inch” print will not fit unless the opening allows for those additions.
Ask whether the photograph sits behind a continuous rim or inside a recessed slot, then request the recess depth. A shallow decorative heart mould may produce a plaque with no ledge for a photograph or acrylic cover. The cavity must be deeper than a flat plaque, and the opening must exceed the final insert size.
Before buying, inspect the sample or mould for a level continuous rim, an undamaged heart tip, thin points, tears, trapped dust and a warped base. Ask for the silicone type and Shore hardness. Softer silicone releases undercuts more easily but can create wavy sides during pouring; firmer silicone preserves geometry but demands careful demoulding.
Search results for “heart photo frame resin mould goregaon” or “heart photo frame resin mould art store for goregaon” do not prove local stock. Request a current photograph and dimensions before travelling.
Match the resin, calculate the fill and support the mould
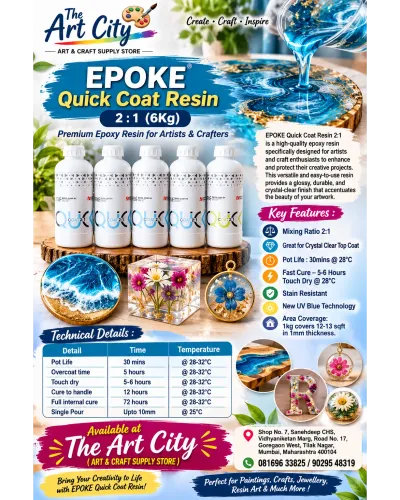
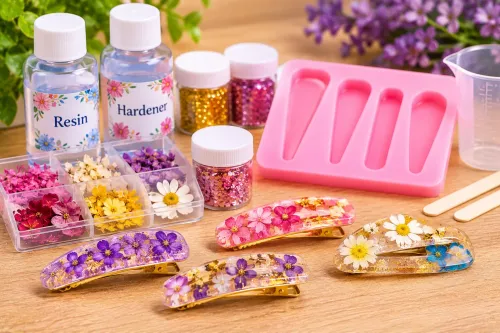
Choose a mould labelled for two-part epoxy resin, not merely one described as a “resin mould.” Search results for resin moulds for photo frames in mumbai can include designs intended for clay, soap, candles or plaster. Ask for the recommended pour thickness, maximum temperature and whether the silicone is platinum-cured.
| Material | Compatibility check | Main risk |
|---|---|---|
| Two-part epoxy | Confirm the mould is rated for epoxy | A thick pour creates heat and can distort silicone |
| UV resin | Use only in shallow, clear cavities | Deep, opaque or pigmented areas may stay uncured |
| Polyurethane resin | Obtain separate compatibility confirmation | The mould may soften or react |
| Plaster | Use only with the maker’s approval | Water and heat can damage an unsuitable mould |
Measure the cavity before mixing.
- Put the empty mould on a level surface, fill it with water to the intended height, then transfer the water to a measuring cup. Dry the mould completely; trapped water can affect curing.
- Mix slightly more resin than the measured volume for cup residue and small spills, but avoid a large excess that increases heat and waste.
- Place the mould in a rigid support box or on a flat board. Shim the board until a spirit level shows an even surface, then secure the outer edge without crushing the silicone.
- Use clean, undamaged silicone without release spray unless the resin maker recommends one. Oily spray can reduce gloss and stop glue, magnets or a backing panel bonding properly.
Pour in controlled stages and cure before demoulding
A tacky heart frame usually starts with an inaccurate ratio or resin left unmixed at the cup’s base. Use this sequence:
1. Measure resin and hardener according to the manufacturer’s printed ratio. Use separate clean cups when the system requires them. Stir slowly for the stated time, scraping the base and sidewalls; add pigment only after both components are fully combined.
2. Test glitter, dried flowers or other inclusions before adding them. Check whether they sink, bleed colour, trap bubbles or leave sharp edges that could damage the photo or backing.
3. Pour a thin first layer around the inner and outer walls. Guide resin into the pointed tip and inner corners with a toothpick or fine tool, then remove surface bubbles only with the resin maker’s approved method. Keep heat away from thin silicone points.
4. Add later layers within the product’s recoat window and never exceed its maximum pour depth. Cover the level mould to block dust and leave it undisturbed for the full cure time printed on the package; a firm surface does not prove the interior has cured.
5. Flex the silicone away from the outer edge first, release the photo opening gradually and support the pointed bottom with your fingers. A wavy rim suggests uneven support or overly soft silicone; tackiness points to ratio, mixing or curing trouble.
Trim seam flashing only after full cure, while cloudy resin can indicate moisture, bubbles or incompatible inclusions.
Turn the casting into a usable photo frame
A resin casting is the frame body, not a complete display product. Test-fit the photograph before sanding, then trim flashing with a fine craft tool and wet-sand rough edges with suitable abrasive paper. Keep sanding dust out of the photo opening.
Plan the retention and display parts before fixing anything permanently:
- Add a rear backing panel, clear acrylic sheet, glass insert, magnets, clips or suitable adhesive.
- Fit a stand, hanging hole or sawtooth hanger only after checking the cured resin’s thickness and weight.
- Keep the photograph removable behind clear acrylic if you want to replace it easily.
Encapsulate a print only after testing a spare copy. Resin can darken paper, curl it or leave a wet-looking stain.
A different frame style can save time or suit a lighter display:
| Option | Advantage | Trade-off |
|---|---|---|
| Brass-and-glass heart frame | Fast assembly and clearer protection | Less casting customisation |
| Wooden heart canvas | Light and easy to paint | Needs a separate photo holder |
| Bezel | Neat, defined edge | Less sculptural depth |
| Flat resin plaque | Uses less resin | Provides less framing space |
Clear epoxy can yellow under prolonged ultraviolet exposure. Keep the finished frame away from direct sun, even when the resin is marketed as UV-resistant. A UV-resistant formula reduces yellowing risk; it does not prevent it permanently.
Ask the local art store the questions that prevent a wasted trip
1. Before travelling to an art store in Goregaon West, request current stock confirmation and ask whether the price covers one mould or a set. A search for resin art supplies near Goregaon can show sellers outside the neighbourhood, so a local search result does not prove local stock. Confirm pickup, delivery and replacement options.
2. Ask for the actual outside width and height, photo-opening width and height, cavity depth and wall thickness. Confirm whether each measurement describes the cured frame or the silicone cavity.
Ask whether the photo sits behind a continuous rim or in a defined recess, and request a photograph showing the cavity and rim instead of trusting a search thumbnail.
3. Confirm the silicone type, hardness information and intended casting material. The mould must suit two-part epoxy resin, not merely clay, soap, candle or plaster. Ask for the resin’s cure time, maximum pour thickness and compatible pigment before paying; UV resin can cure poorly in a deep, opaque cavity.
4. At ART & CRAFT SUPPLY STORE MUMBAI, match the mould with epoxy resin, pigment, mixing cups, gloves, a measuring scale, bubble-control tools, wet-and-dry abrasive paper, backing material and adhesive. Ask for a mould holder or flat support board.
If the exact mould is unavailable, choose one with a photo recess deep enough for the print and protective insert, not a shallow heart decoration.
Related product
 | SILICONE MOULD Love Picture Frames Silicone Epoxy Casting Mould - Silicon Moulds for Resin Art Kit - DIY Resin Moulds for Craf ₹499 ★ HIGH QUALITY RESIN MOULD : These resin silicone molds are made of durable silicone by advanced techniques.with the flexible, smooth and reusable... View product → |
Frequently asked questions
Which mould dimensions should you check before buying a heart photo frame mould?
Check the finished frame’s outer width and height, photo opening, casting depth, and space needed for a stand or hanging hardware.
How do you choose resin and calculate the amount needed?
Use a resin rated for the mould’s depth and follow its mixing ratio. Calculate the mould volume with water, then add a small allowance for spills and testing.
How should you pour resin into a heart photo frame mould?
Secure the mould on a level surface, pour in controlled stages, remove surface bubbles, and let each layer settle before adding the next.
When can you demould the resin photo frame?
Demould only after the resin has reached the cure time and hardness stated by the manufacturer. Early removal can bend the frame or damage its edges.
Keywords